

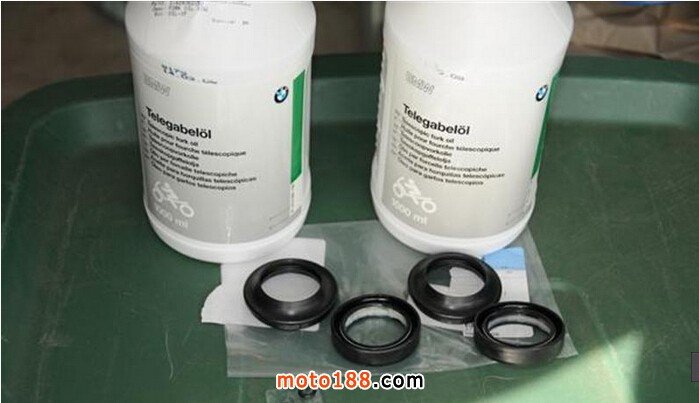
物料准备:减震油一边450ml,新的防尘盖和油封:
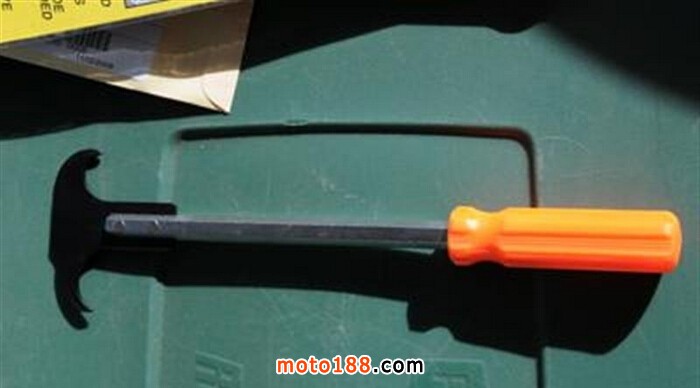
虽然平口起子也能用,但我还专门去买了一把油封起子:
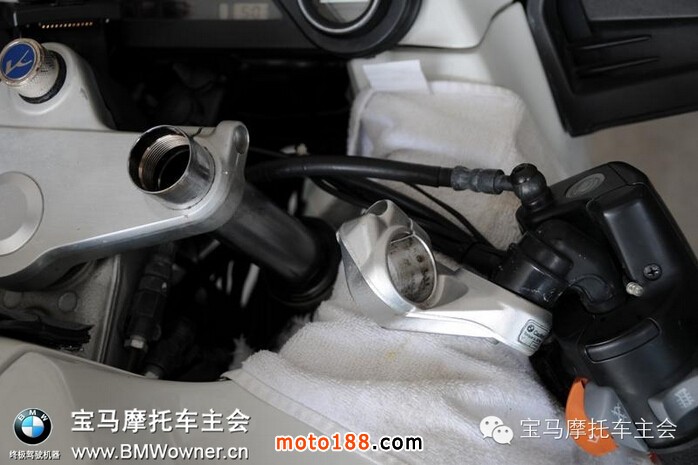
打起大撑,把前轮想办法提起来。然后拆掉相应的螺丝就行了:
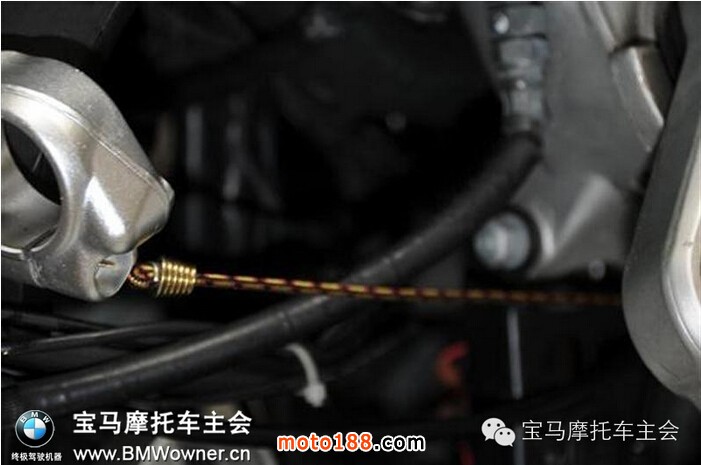
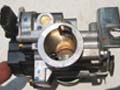
本可以用放油螺丝放掉前减震油的,但我这里正好有顺手的抽油工具,就抽出来了。效果还不错。下边是以前操作时候留的图,只是给大家看看抽油机的样子:
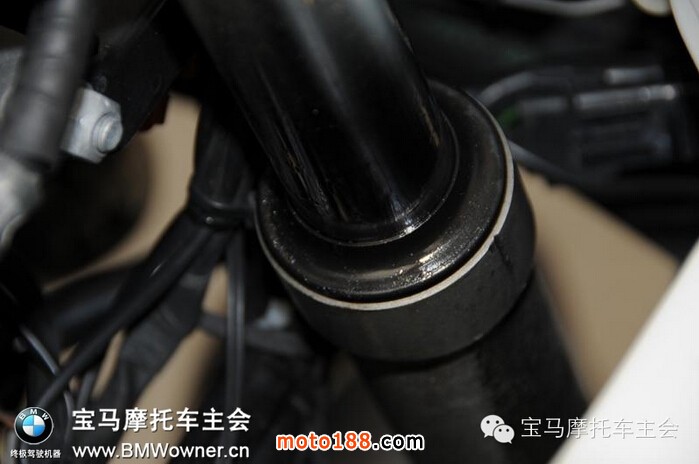
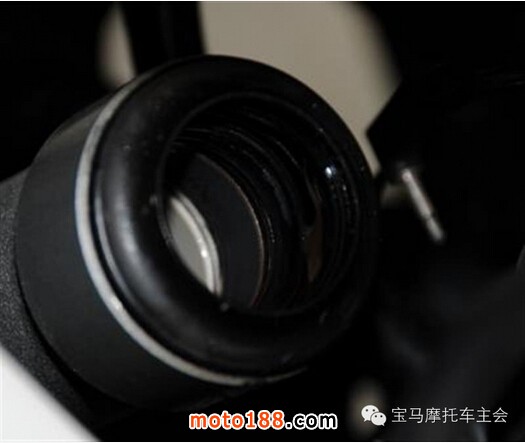
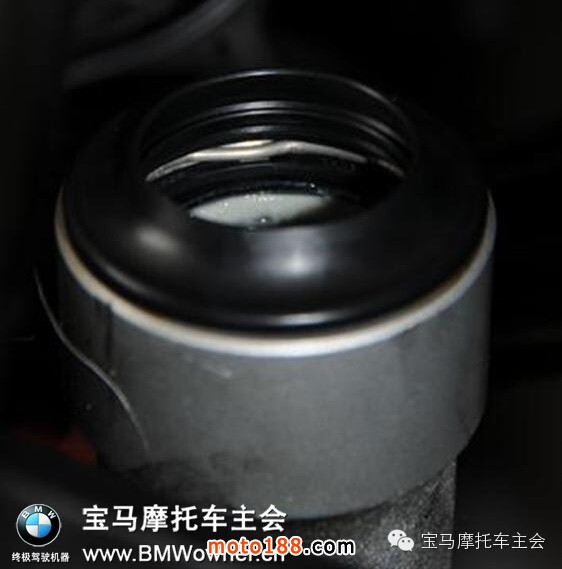
好了,可以看到取掉内管的防尘盖和油封了:
取掉防尘盖。然后用螺丝刀把卡簧撬下来,最好用个软布一类东西把螺丝刀包住,我这里没有顺手的东西,就没包,但是我可是很小心的哦:
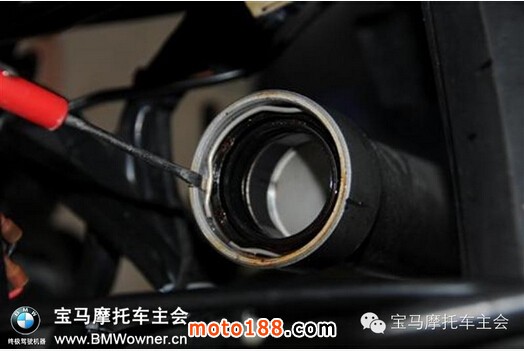
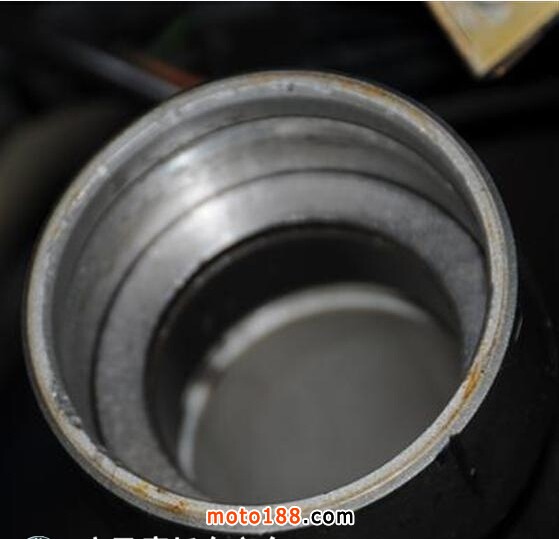
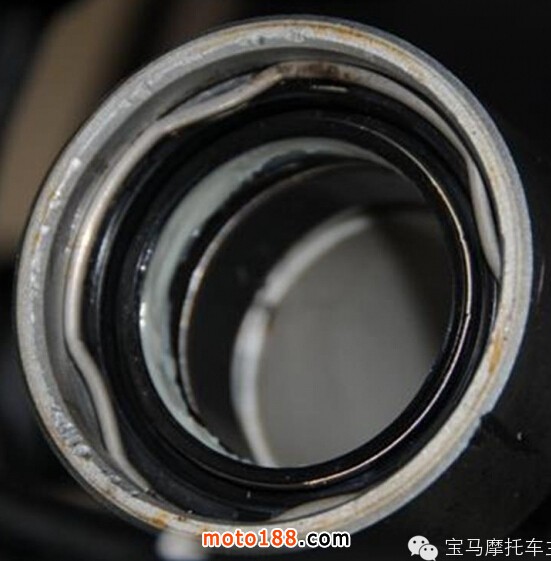
然后拆下油封就很简单了。这是油封拿下来后,外管的样子:
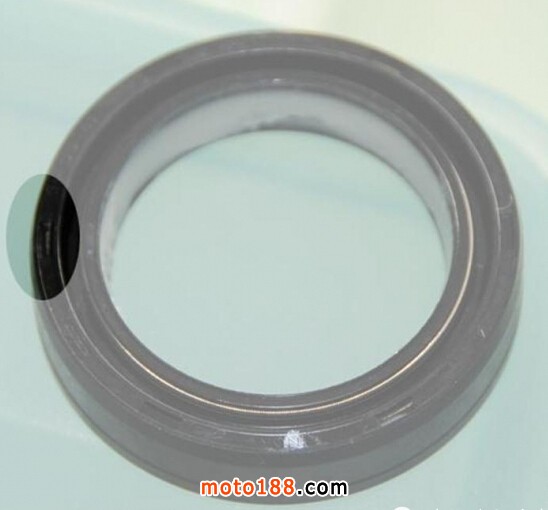
新油封拿在手里一看,麻烦了,不知道正反面。仔细一看上边是有个小槽子标记。然后我找到旧油封一看,有同样的标记。那就好办了。原来是槽子朝上的,新油封按照这个方向放进去:
重新装上卡簧:
装防尘套,按我个人经验有两种办法,1,先把防尘套装在外管上,然后插入内管。2,可以先把防尘套套在内管上,然后直接插入外管。也没问题。 我更喜欢第二种:
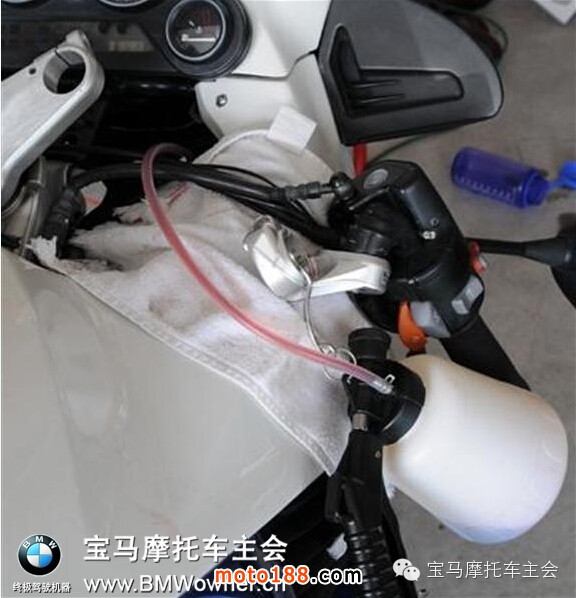
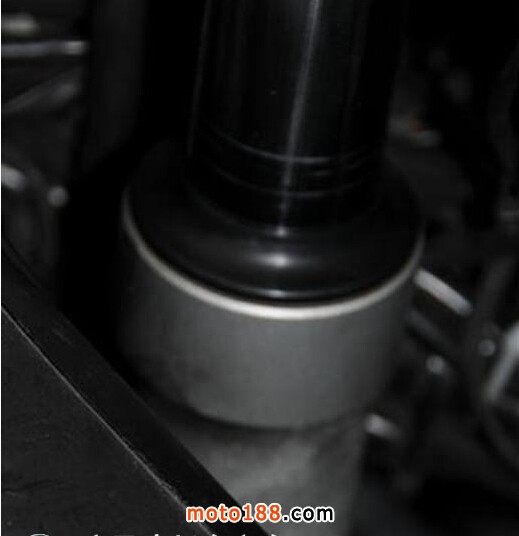
完事,整理好所有的电路和管路,重新安装到一起:
这次的工作非常简单,希望可以给大家起到一点点参考作用。